Three weeks is enough time to go from bare ground to a planted vegetable garden. It does not require experience, a large budget or special equipment. What it does require is a clear plan and the willingness to get started. Here is that plan, broken down week by week.
Week 1 — Find your spot, gather your tools and source your compost
Choose a location
Look for a spot that gets at least 6 hours of direct sun per day. Most vegetables really do need that light to produce well. Avoid areas under large trees — the shade and root competition make things unnecessarily difficult. And the closer to your kitchen the better — a garden you walk past every day is a garden you will actually tend.
If you have no outdoor space at home, look for an allotment nearby. Many towns have plots available to rent for a small fee. A good way to find out is to visit on a weekend morning and chat to the people already gardening there — they will usually know exactly how it works.
For a more detailed guide on choosing the right location, read: Where to Start Your Vegetable Garden
Gather some basic tools
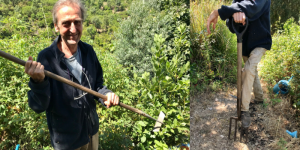
You really do not need much to get started. A garden fork or spade for loosening the soil, a hoe for weeding, a hand trowel for planting and a watering can or hose — that covers most of what you will need in your first season. You can always add more tools later as you discover what you actually use.
Source your compost or manure
Good compost is probably the most valuable thing you can add to your soil. A good place to start is asking at a nearby allotment or garden centre — often there is a farmer or horse owner in the area who is happy to pass on manure. If that is not an option, a bag of well-rotted manure pellets from a garden centre works well. Two to three buckets of compost per square metre is about right — a generous amount but not excessive.
Week 2 — Prepare your beds
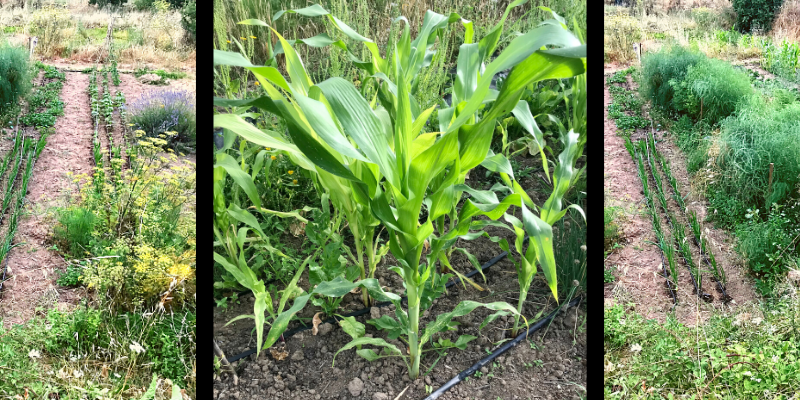
Mark out your beds
Divide your growing area into beds no wider than 120 cm. This width means you can reach the centre from either side without stepping in, which is important — compacted soil is hard for roots to grow through. A path of at least 40 cm between beds works well, or 60 cm if you want to use a wheelbarrow.
Clear the ground
Try to remove weeds with their roots intact. Any roots left behind will regrow and create more work later. A good approach is to loosen the soil with a garden fork first — push it in, lever down, pull out — and then pull the weeds out by hand while the soil is still open. It takes a bit of effort but it makes a real difference later in the season.
Improve the soil
Spread your compost or manure over the cleared bed and work it into the top 20 to 30 cm of soil. The end result should feel loose, dark and crumbly — that is a good sign. For a more detailed guide on soil types and how to improve them, read: How to Prepare Your First Vegetable Garden Bed
Week 3 — Plant and get growing
Buy plants rather than seeds
For a first vegetable garden, buying young plants from a nursery or garden centre is much easier than growing from seed. You skip the germination stage entirely and see results much sooner. Growing from seed is a wonderful skill to develop — but it is something worth adding gradually once you have a feel for gardening. For now, buying plants makes the whole process more straightforward and rewarding.
If you cannot find plants to buy, it is always worth asking neighbours or friends who garden. People who grow from seed almost always have more plants than they need and are usually happy to share.
Plant at the right spacing
Check the label or packaging for each vegetable — it will tell you how far apart to plant. The distances are there for a good reason. Plants placed too close together compete for water and nutrients and tend to produce less. The beds look quite sparse at first but they fill up faster than you might expect — it is worth trusting the spacing.
Keep it simple to start
Planting in straight rows and grouping the same vegetables together makes everything easier to manage. All your tomatoes in one area, all your lettuce together, all your beans in a row. There are more complex and interesting methods — companion planting, mixed beds, permaculture systems — but these are much easier to understand once you have a season of straightforward growing behind you. Give yourself that foundation first.
After planting — two ongoing tasks
Weeding
There is no gardening method that eliminates weeding entirely — but there is a way to make it much less work. The trick is to weed little and often, ideally once a week. Hoe between rows when weeds are still tiny and they come away with almost no effort. Around individual plants, using your fingers rather than the hoe is a good idea to avoid accidentally disturbing the plants you want to keep.
Watering
A simple way to check whether plants need water is to push your finger about 5 cm into the soil. If the top feels dry but there is a little moisture at the tip of your finger, it is time to water. If it still feels moist, it can wait. Water at the base of the plant rather than on the leaves. In warm weather, watering in the late afternoon or evening tends to work better — less water is lost to evaporation and the plants have the whole night to absorb it.
You are ready
That is the whole plan. Three weeks of steady effort and you have a planted vegetable garden. Everything after that is maintenance — weeding, watering and watching things grow.
If you would like to learn all of this hands-on in a real working garden, our 101 Starters Course covers every step in this guide and much more. Two days, small group, real work, lunch from the garden.
Find out about the 101 Starters Course at Monchique Homestead