
There is one moment that every vegetable gardener remembers.
It's not the first harvest. It's not even the first seedling breaking through the soil. It's the moment you look at a patch of ground and think — I'm going to grow food here.
And then immediately wonder: where on earth do I start?
If that's you right now, you're in exactly the right place. Preparing your first vegetable garden bed doesn't have to be complicated. But it does need to be done right — because everything you grow from this point forward will depend on the foundation you put in place now. This guide walks you through every step, from choosing the right spot to getting your soil ready to plant.
Step 1 — Choose the Right Location
Before you dig a single thing, spend some time observing your garden. The single most important factor for a productive vegetable garden is sunlight — and getting this wrong is the most common mistake beginners make.
Most vegetables need a minimum of 6 hours of direct sunlight per day. Leafy greens like lettuce and spinach can manage with a little less. Tomatoes, courgettes, peppers, beans and most fruiting vegetables, however, need as much sun as they can get.
How to assess your spot
Walk around your garden at different times of day — morning, midday and late afternoon. Notice where the sun falls and for how long. Pay attention to shadows cast by trees, walls, fences or buildings. That corner that looks sunny in the morning might be in shade by noon.
Other things to consider
- Water access — you will be watering regularly, so choose a spot that's easy to reach with a hose or watering can
- Drainage — avoid low-lying areas where water pools after rain. Vegetables don't like sitting in waterlogged soil
- Wind — a sheltered spot is better than an exposed one, especially for taller plants
- Proximity to your kitchen — the closer your garden is to your back door, the more likely you are to actually use it. A garden you can see from the house is a garden you'll tend
Step 2 — Decide on the Size and Shape
For a first garden bed, smaller is better. This is one of the most counterintuitive pieces of advice I give, but it's true every time. A small, well-managed bed will produce more food than a large, neglected one. A large garden that overwhelms you in your first season is, in fact, the fastest way to give up.
A good starting size
A bed of 1.2 metres wide by 2–3 metres long is ideal for a beginner. Here's why the width matters: you should be able to reach the centre of the bed from either side without stepping in. Compacted soil is hard for roots to grow through, so you never want to walk on your growing area.
Raised beds vs. ground-level beds
Both work well. A ground-level bed is the simplest way to start — you work with the soil that's already there, improve it with compost, and you're ready to go.
Should you use a raised bed?
Raised beds — where you build a simple wooden frame around your growing area — are a practical option but not a requirement. One thing that puts beginners off is the question of what to fill them with. The good news is: you don't need to fill a raised bed all at once. Start by loosening the existing soil at the bottom, add a layer of compost on top, and begin planting. Over time, as you add more compost each season, the bed gradually builds up.
What to fill your raised bed with
You can fill it with a mix of garden soil, leaf soil, forest soil and compost. Avoid mixing straw or wood chips directly into the soil — as they break down they temporarily draw nitrogen out of the soil, which starves your plants. Use straw or wood chips as a mulch on the surface only, never dug in.
The mulching option
Another good option is a mulching system: pile organic material on the surface each season and let it break down naturally. Over time this gradually builds up the bed from the top down, feeding the soil life as it goes.
The real advantage of a low raised bed
Even a low, one-plank raised bed creates a clear boundary between your growing area and your path — which means no compaction from foot traffic and less nutrient loss. You can absolutely start at ground level and raise your beds gradually as you go.
Step 3 — Clear the Ground
Once you've chosen your spot, the first physical task is clearing what's already there.
Option 1 — Dig it out
Starting on a lawn
If you're starting on a lawn, use a spade to cut under the grass and remove it, roots and all. This gives you a clean start immediately.
Starting on weedy bare ground
If you're dealing with a bare patch of weedy ground, the approach is different — and more important to get right. Removing the weeds with their roots intact is essential, because any roots left behind will regrow and cause far more weeding work later.
The right tool for the job
The best tool for this is a garden fork with flat tines (in Dutch: platte riek) — or a broadfork if you can get hold of one.
How to do it
Because the soil is often compacted, you need to loosen it before you can pull the weeds out cleanly. Push the fork straight down into the soil, then press the handle down to lever and loosen the ground around the roots. Pull the fork out, then remove the weeds by hand, roots and all. Work your way across the bed systematically before moving on to the next step. It's more effort upfront — but it saves you a huge amount of weeding throughout the whole season.
Option 2 — Sheet mulching
Cover the area with a thick layer of cardboard (remove any tape and staples first), then pile compost or soil on top. The cardboard smothers the grass and breaks down over several months, adding organic matter to the soil. This works brilliantly but requires planning ahead — you'll need to wait 6–8 weeks before planting directly into the ground beneath.
What to do with the weeds you remove
If the weeds haven't gone to seed, add them to your compost heap. If they have seeded, put them in the bin or burn them — you don't want to spread seeds back into your garden.
Step 4 — Understand Your Soil
This is the step most beginners skip — and it's the one that makes the biggest difference. Healthy soil is the foundation of a productive vegetable garden. Your vegetables don't just grow in soil — they feed from it. The better your soil, the better your harvest.
What good vegetable garden soil looks like
Good soil is dark in colour, crumbles easily in your hand, smells earthy and pleasant, and has visible life in it — worms, insects, fungal threads. It holds moisture without becoming waterlogged, and drains freely without drying out too quickly.
The three main soil types
Sandy soil is light and gritty, and drains very quickly. Easy to work, it dries out fast and loses nutrients rapidly. Fix it by adding lots of organic matter such as compost.
Clay soil is heavy, sticky when wet and hard when dry. It holds nutrients well but drains poorly and can become compacted. Improve it by adding compost and grit, and avoid walking on it when wet.
Loamy soil is the ideal — a balance of sand, silt and clay. Dark, crumbly, moisture-retentive but well-drained. If you have this, you're lucky — just keep feeding it with compost.
How to do a quick soil test
Take a small handful of moist soil and squeeze it in your fist. Open your hand:
- If it crumbles apart — you have sandy soil
- If it holds its shape and feels slippery — you have clay soil
- If it holds its shape but crumbles when you poke it — you have loamy soil

Step 5 — Improve Your Soil
Whatever soil type you have, adding organic matter is always the right move. The single best thing you can do for your vegetable garden — before planting anything — is to work good compost into your soil.
What to add
Compost is the gold standard. Well-rotted garden compost or bought compost improves every soil type — it adds nutrients, improves drainage in clay soils, improves water retention in sandy soils, and feeds the soil life that your vegetables depend on.
Well-rotted manure from horses, cows or chickens is another excellent addition. Make sure it's well-rotted (dark, crumbly, no strong smell) — fresh manure can burn plant roots and contains pathogens.
How to apply it
Spread a layer of compost 5–10 cm deep over your bed and dig or fork it into the top 20–30 cm of soil. If you're making a raised bed, mix it through the whole soil depth.
A word on fertilisers
You don't need to buy expensive fertilisers for a first vegetable bed. Good compost is enough to get you started. Once you're growing, you can top up with additional feeds if specific plants need it — but begin simply.
Step 6 — No-Dig Saves Work
What is the no-dig method?
The no-dig method is exactly what it sounds like — instead of turning or digging the soil each season, you add a layer of compost on top and let the soil life do the work from below. The idea is to disturb the soil structure as little as possible, which protects the microbes, fungi and worms that keep your soil healthy and productive.
What no-dig actually involves
No-dig does not mean doing nothing between crops. Before each new planting, loosen the top layer of soil gently — without turning it — to allow roots to penetrate more easily and to break up any compaction from the previous season. A broadfork is the best tool for this, as it aerates the soil from below without disturbing the layers. A regular garden fork works well too for smaller beds. Push it in, lever gently, pull out — and repeat across the bed. You are loosening, not digging.
Combining steps — clearing and preparing in one go
If you are starting a new bed, you can combine clearing the ground and preparing the soil in a single session. Loosen the soil with your fork first, then pull out the weeds with their roots while the soil is still open. Once the bed is clear, spread a layer of compost over the surface and lightly work it into the top few centimetres with your fork or a rake.
In drier climates — and this is especially relevant in the Algarve — compost left on the surface will dry out quickly and lose much of its benefit before it reaches the roots. Working it lightly into the soil makes sure the moisture and nutrients stay where your plants can actually use them.
When traditional digging still makes sense
For a brand new bed on very compacted ground, a one-time light dig to loosen the soil and work in compost is a perfectly sensible starting point. After that, switch to no-dig and let the soil build from the top down season after season.
The simple rule
Dig once to get started. From then on, loosen and top-dress with compost — working it in lightly if your climate is dry. Your soil will improve every single season.
Step 7 — Level and Rake
Once your compost is worked in, take a rake and level the surface of your bed. You're aiming for a fine, crumbly surface without large clods of soil or stones. This makes it much easier to sow seeds evenly and plant seedlings securely.
Rake in straight lines from one end of the bed to the other, breaking up any lumps as you go. Remove any large stones, roots or debris you find. At this point, your bed is ready. It may feel like a lot of work to get to this moment — but this preparation is what everything else depends on.
Step 8 — Mark Your Paths
If you're building more than one bed, now is the time to think about paths between them. You need to be able to comfortably reach the centre of every bed from the path — which means paths should be at least 50–60 cm wide.
If you like, cover your paths with wood chips, gravel, straw or even old carpet to suppress weeds and keep them from becoming muddy in wet weather.
Step 9 — Think About Water Before You Plant
Before a single seed goes in, think about how you're going to water your bed. Hand watering with a can is fine for a small bed, but a hose or simple drip irrigation system will save you a huge amount of time and effort as your garden grows, especially in drier regions.
Position your bed within easy reach of a water source. If you're planning to expand your garden over time, it's worth thinking about this now rather than retrofitting later.
What Comes Next
A prepared bed is just the beginning. Once your soil is ready, the next questions are: what do I plant, when do I plant it, and how do I keep it alive?
Those are exactly the questions we answer in the 101 Starters Course — two hands-on days at Monchique Homestead where you'll not only learn how to prepare beds like this one, but actually build two garden beds yourself on the afternoon of day two. If you're new to vegetable gardening and want to skip the years of trial and error, this is the course that gives you the foundation.
Also worth reading: When to Plant Vegetables in Serra de Monchique — once your bed is ready, this guide tells you exactly what to put in it and when.
Ready to get started? Find out more and register here
Bonus — Preparing a Garden Bed in the Algarve and Serra de Monchique
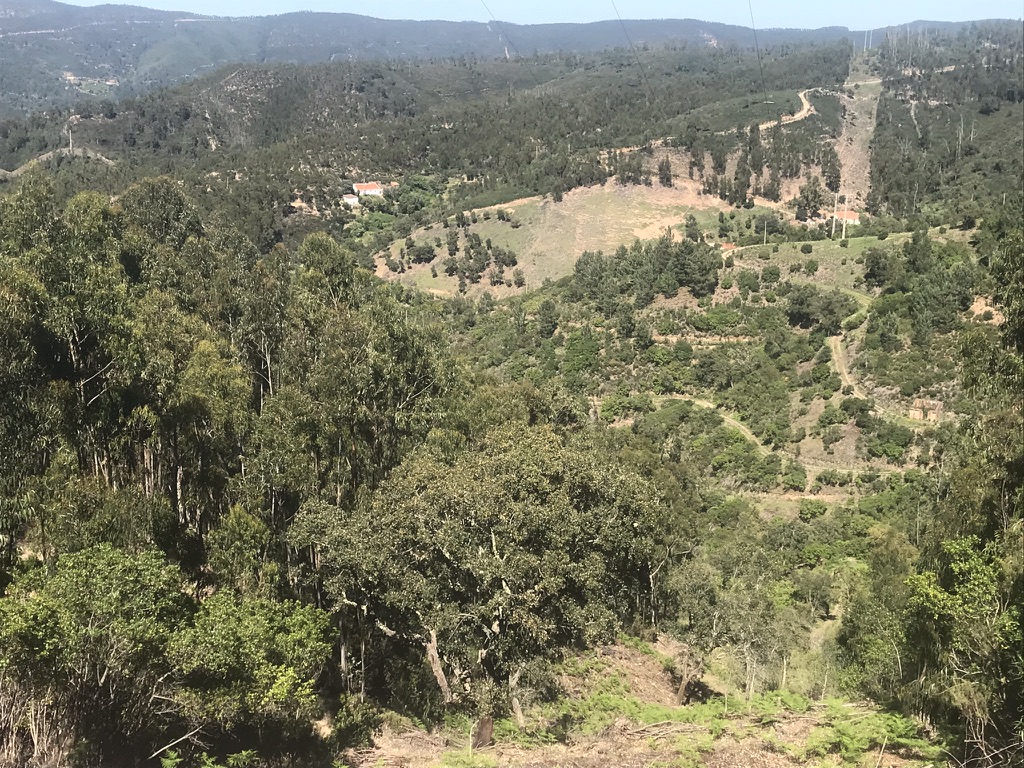
If you're gardening in the western Algarve or the Serra de Monchique, there are a few things worth knowing that general guides won't tell you.
Soil varies considerably here
The schist soils typical of the wider Serra tend toward slightly acidic conditions due to the high rainfall leaching minerals over time. The Monchique massif itself sits on syenite — an alkaline rock — which is why the famous Monchique spring water is notably alkaline. The best advice is to test your own soil before assuming its pH, as it really depends on exactly where you are. Either way, adding plenty of compost is always the right move to build organic matter and water retention.
Watch out for dry summers
Drainage is usually good here — sometimes too good. Sandy or light soils dry out very quickly in summer. Consider adding extra compost to improve water retention, and think about mulching your beds after planting to keep moisture in the soil.
Terraced land is your friend
Raised beds are not strictly necessary in the Serra de Monchique. This is an old agricultural area and most properties come with terraced land, which is already perfectly suited to vegetable gardening. Non-terraced land tends to be too steep and is traditionally used for forestry or livestock. That said, low raised beds — even just one plank high — can be very practical: they create a clear distinction between bed and path, help retain nutrients in the growing area, and make the garden easier to manage. But they are a practical choice, not a necessity.
Time your preparation well
In the Algarve there are two main planting windows — spring (March–May) and autumn (August–September–October). Prepare your bed a week or so before your target planting time to give the soil time to settle and for any added compost to begin breaking down.
Work with the seasons
Summer heat in the Algarve is intense. If you're preparing a new bed in summer, do the physical work in the early morning or evening. Easiest of all is to prepare your beds in spring when the soil is still moist and soft, then use a cover crop like fodder lupins (tremocilha) to keep the soil soft and workable until autumn planting time.
Questions about preparing your first vegetable bed? Leave a comment below — I'm always happy to help.